New
£5.45
Rockshox Fork Sticker White and Black Mountain Bike Decals.
WR14
New and used cycling decals, stickers and graphics from UK sellers. Frame decals, component stickers, custom graphics and OEM replacements for Fox, RockShox, Santa Cruz, Specialized and more.
Loading listings…
Decals and stickers let you refresh a battered frame, personalise a build, or replace worn factory graphics without repainting. The quality difference between cheap print-at-home stickers and proper die-cut vinyl decals is significant — invest in quality decals and they'll look good for years.
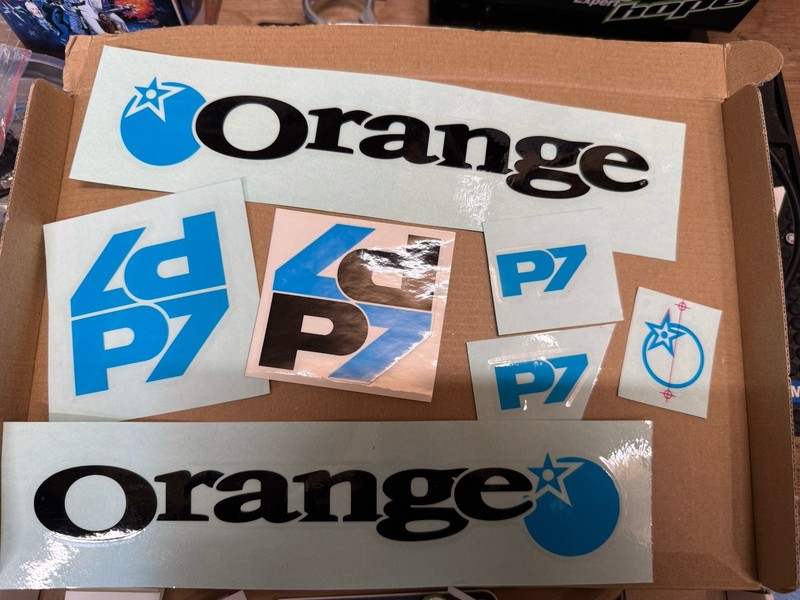
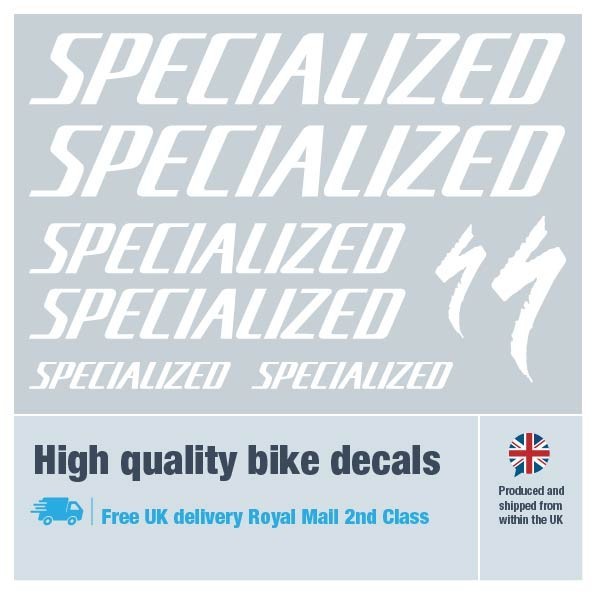
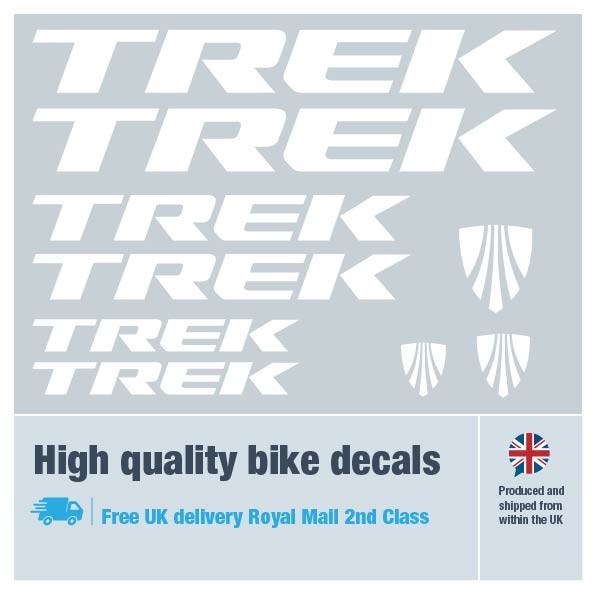
Replacement frame decals are available for most major brands — Santa Cruz, Specialized, Trek, Yeti, Commencal, Nukeproof, Orange and others. OEM-spec decals match the factory graphics exactly. Custom decals let you change colours, go stealth (black on matte black), or add accent colours that tie the build together. Companies like Slik Graphics, Ride Decals, and BikeStickerz cover the major brands and offer custom colour options.
Fork decals (RockShox, Fox, Marzocchi), wheel decals (DT Swiss, Hunt, Hope), and rim decals are popular upgrades. Matching fork and wheel graphics to a colour scheme pulls a build together visually. Component decals are smaller and simpler to apply than frame decals — a good starting point if you haven't applied vinyl before.
Good decals use thick vinyl (80-100 micron) with a UV-resistant laminate layer that prevents fading and peeling. Cheap decals printed on thin vinyl fade within weeks of UV exposure and peel as soon as they get wet. Die-cut decals (cut to shape with no visible backing) look cleaner than digitally printed decals on clear backing. Matte and gloss finishes are available — match the finish to your frame's paint for the most seamless look.
Clean the surface with isopropyl alcohol. Use the wet application method — spray a fine mist of soapy water on the surface, position the decal, squeegee from centre outward to push water and air out. This gives you a few seconds to reposition before the adhesive grabs. Apply in a warm, dry room and leave 24 hours before riding. For frames with complex curves, use a heat gun on low to soften the vinyl and help it conform to contours without wrinkling.
Some links are affiliate links. We may earn a commission through the eBay Partner Network at no extra cost to you.
400 results